Watching seeds grow is an amazing science project for kids. Our seed germination experiment allows kids to see up close to how a seed grows and what would actually be happening under the ground! Learn about the steps of seed germination, and investigate what conditions a seed needs to germinate. Make sure to grab the free printable bean life cycle activity to go with your seed jar. Easy science experiments are great for kids of all ages!
Germinate Seeds For Spring Science
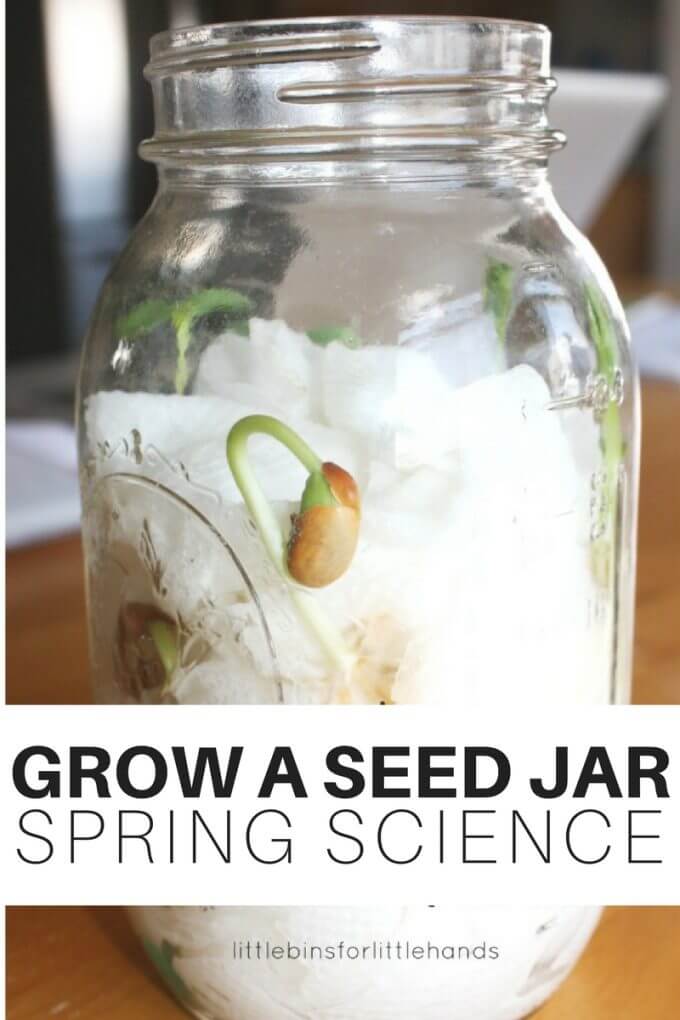
This simple to set up seed jar is one of our favorite spring science projects that you can do inside! We had an awesome time examining and observing the growth of our seed germination experiment.
Share an inside look at how seeds grow below the ground with our seed jar. Plus, you can even get it started when there’s is still snow on the ground. Especially if you are itching for spring to come early!
It all starts with a single seed!
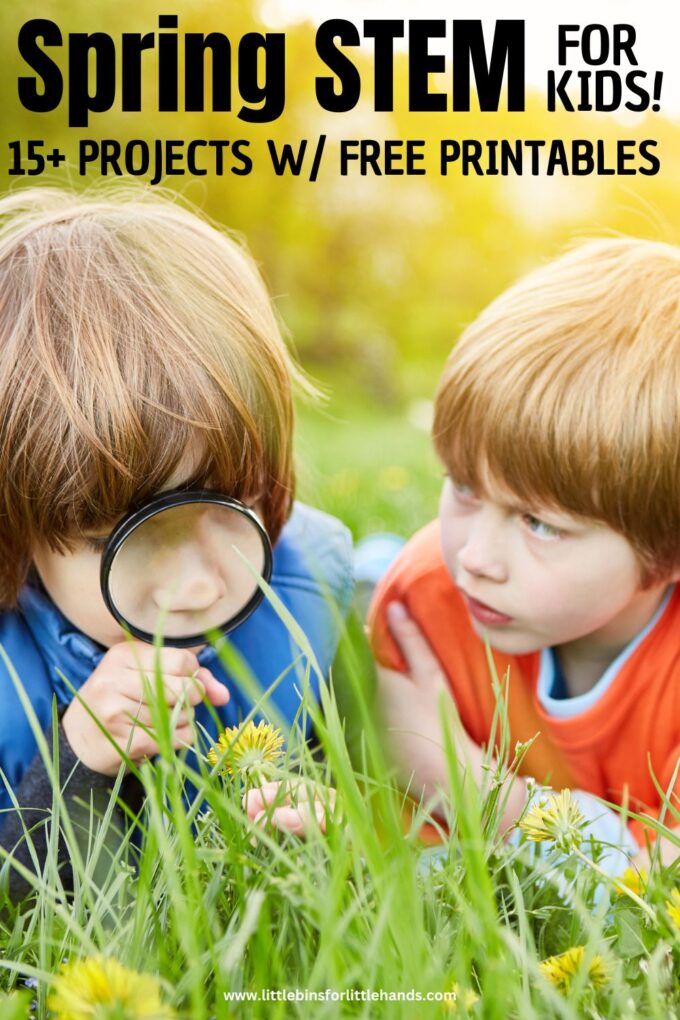
Watching how a seed grows and using a mason jar gives you a front-row seat for observing it all! Sprouting seeds is perfect for a spring STEM activity!
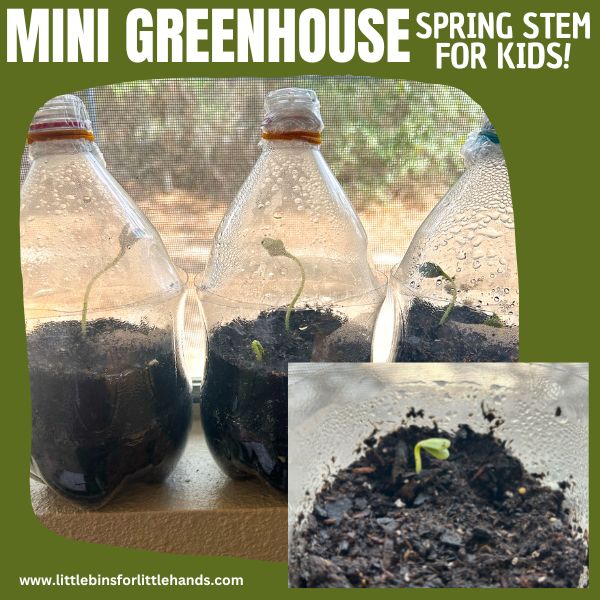
Another fun way to sprout seeds, especially at the end of winter, is with a mini greenhouse made from plastic bottles.
What Is Seed Germination?
First, let’s learn a bit more about germination. Seeds grow into a new plant through a process called germination. Germination is the sprouting of the seed or the very beginning of plant growth.
The absorption of water, cold temperatures or warm temperatures, oxygen availability, and light exposure may all be a factor in starting germination or keeping the seed dormant. What conditions are needed for germination will vary between plants, as each has adapted to the biome in which they live.
Learn more about biomes around the world.
Stages of Seed Germination
First, the seed absorbs water. This causes the seed to swell and the outer coating to break. Then the seed starts to break down some of the food that is stored in it. Most seeds will need oxygen in the air in the soil for this to happen.
Eventually, when the seed has grown leaves it can make its own oxygen and absorb carbon dioxide through photosynthesis.
Once the seed coat breaks open, the first root grows, called the radicle. In almost all plants, the root comes before the shoot.
Once the root starts to grow, it can now absorb water and nutrients from the soil, instead of getting it from the seed coat.
After the root, the plant’s stem starts to grow. When it reaches above the ground, the leaves begin to grow. This is when the plant no longer has to rely on the stored starch (cotyledon) that comes from the seed.
You might also try a simple greenhouse-in-a-bottle model!
Seed Germination Ideas
This simple seed experiment is a great introduction for preschoolers to growing plants, and a fun plant experiment for older kids to investigate what conditions seeds need to germinate.
Older kids can use a science experiment worksheet to write down their observations about how the seeds are growing. While young kids can draw or observe the changes!
There are so many fun questions you can ask…
- Do seeds need light to germinate?
- Does the amount of water affect seed germination?
- Do different types of seeds germinate under the same conditions?
- Does salt water affect seed germination?
Explore how fast different seeds germinate by comparing different kinds of seeds under the same conditions. We tried sunflower seeds, peas, and beans in our seed jar.
Or keep the type of seed the same and set up two mason jars to explore whether seeds need light to germinate. Place one jar where it will get natural light and one in a dark cupboard.
Another idea is to investigate whether seeds need water to germinate and how much. Set up three jars, and measure out how much water goes into each so that one is fully wet, half wet and one has no water.
Read more about the scientific method for kids and using variables in science experiments!
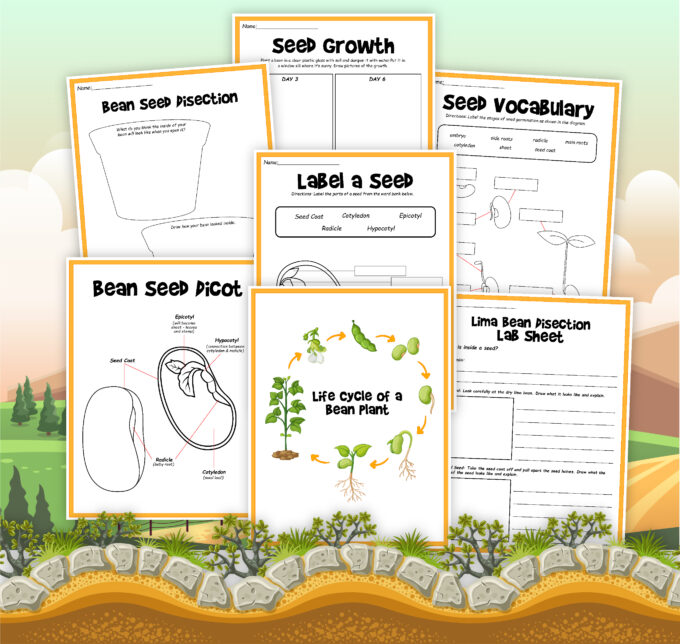
Bean Life Cycle Mini Pack (Free Printable)
Extend the learning of this hands-on project with this free bean life cycle mini pack!
How To Germinate Seeds Faster
One easy way to get your seeds to germinate faster is to presoak them in a shallow container of warm water for up to 24 hours. That will soften the hard outer shell of the seed. Don’t soak for longer as they may go moldy!
Seed Germination Lab
Supplies:
- Paper Towels or cotton wool
- Water
- Seeds (see our suggestions above)
- Large jar
Also check out our list of other fun science experiments you can in do a jar! >>> Science in a Jar
How To Set Up Your Seed Experiment
STEP 1: Fill the jar with paper towels. Kids can fold them and push them down into the jar. This is also great work for little hands.
STEP 2: Gently water your seed jar to wet the paper towels. DO NOT FLOOD IT!
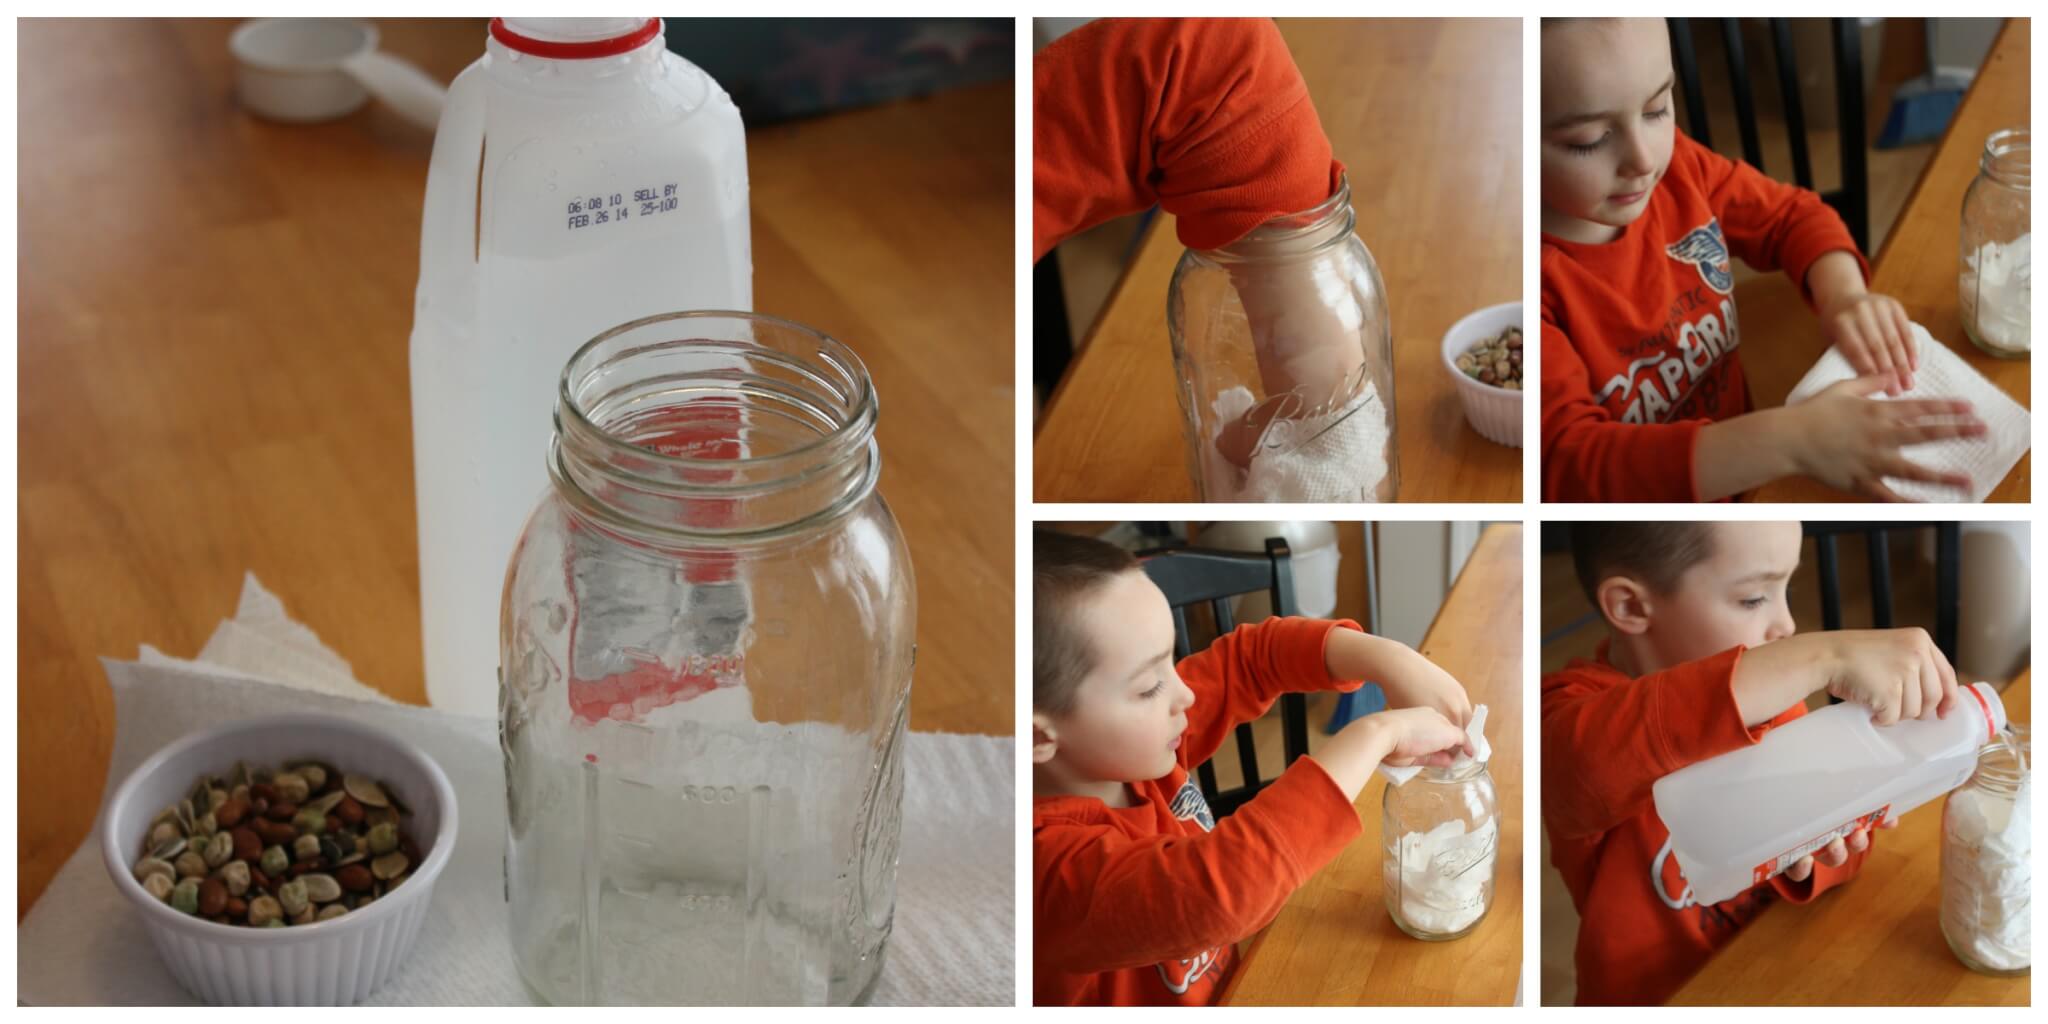
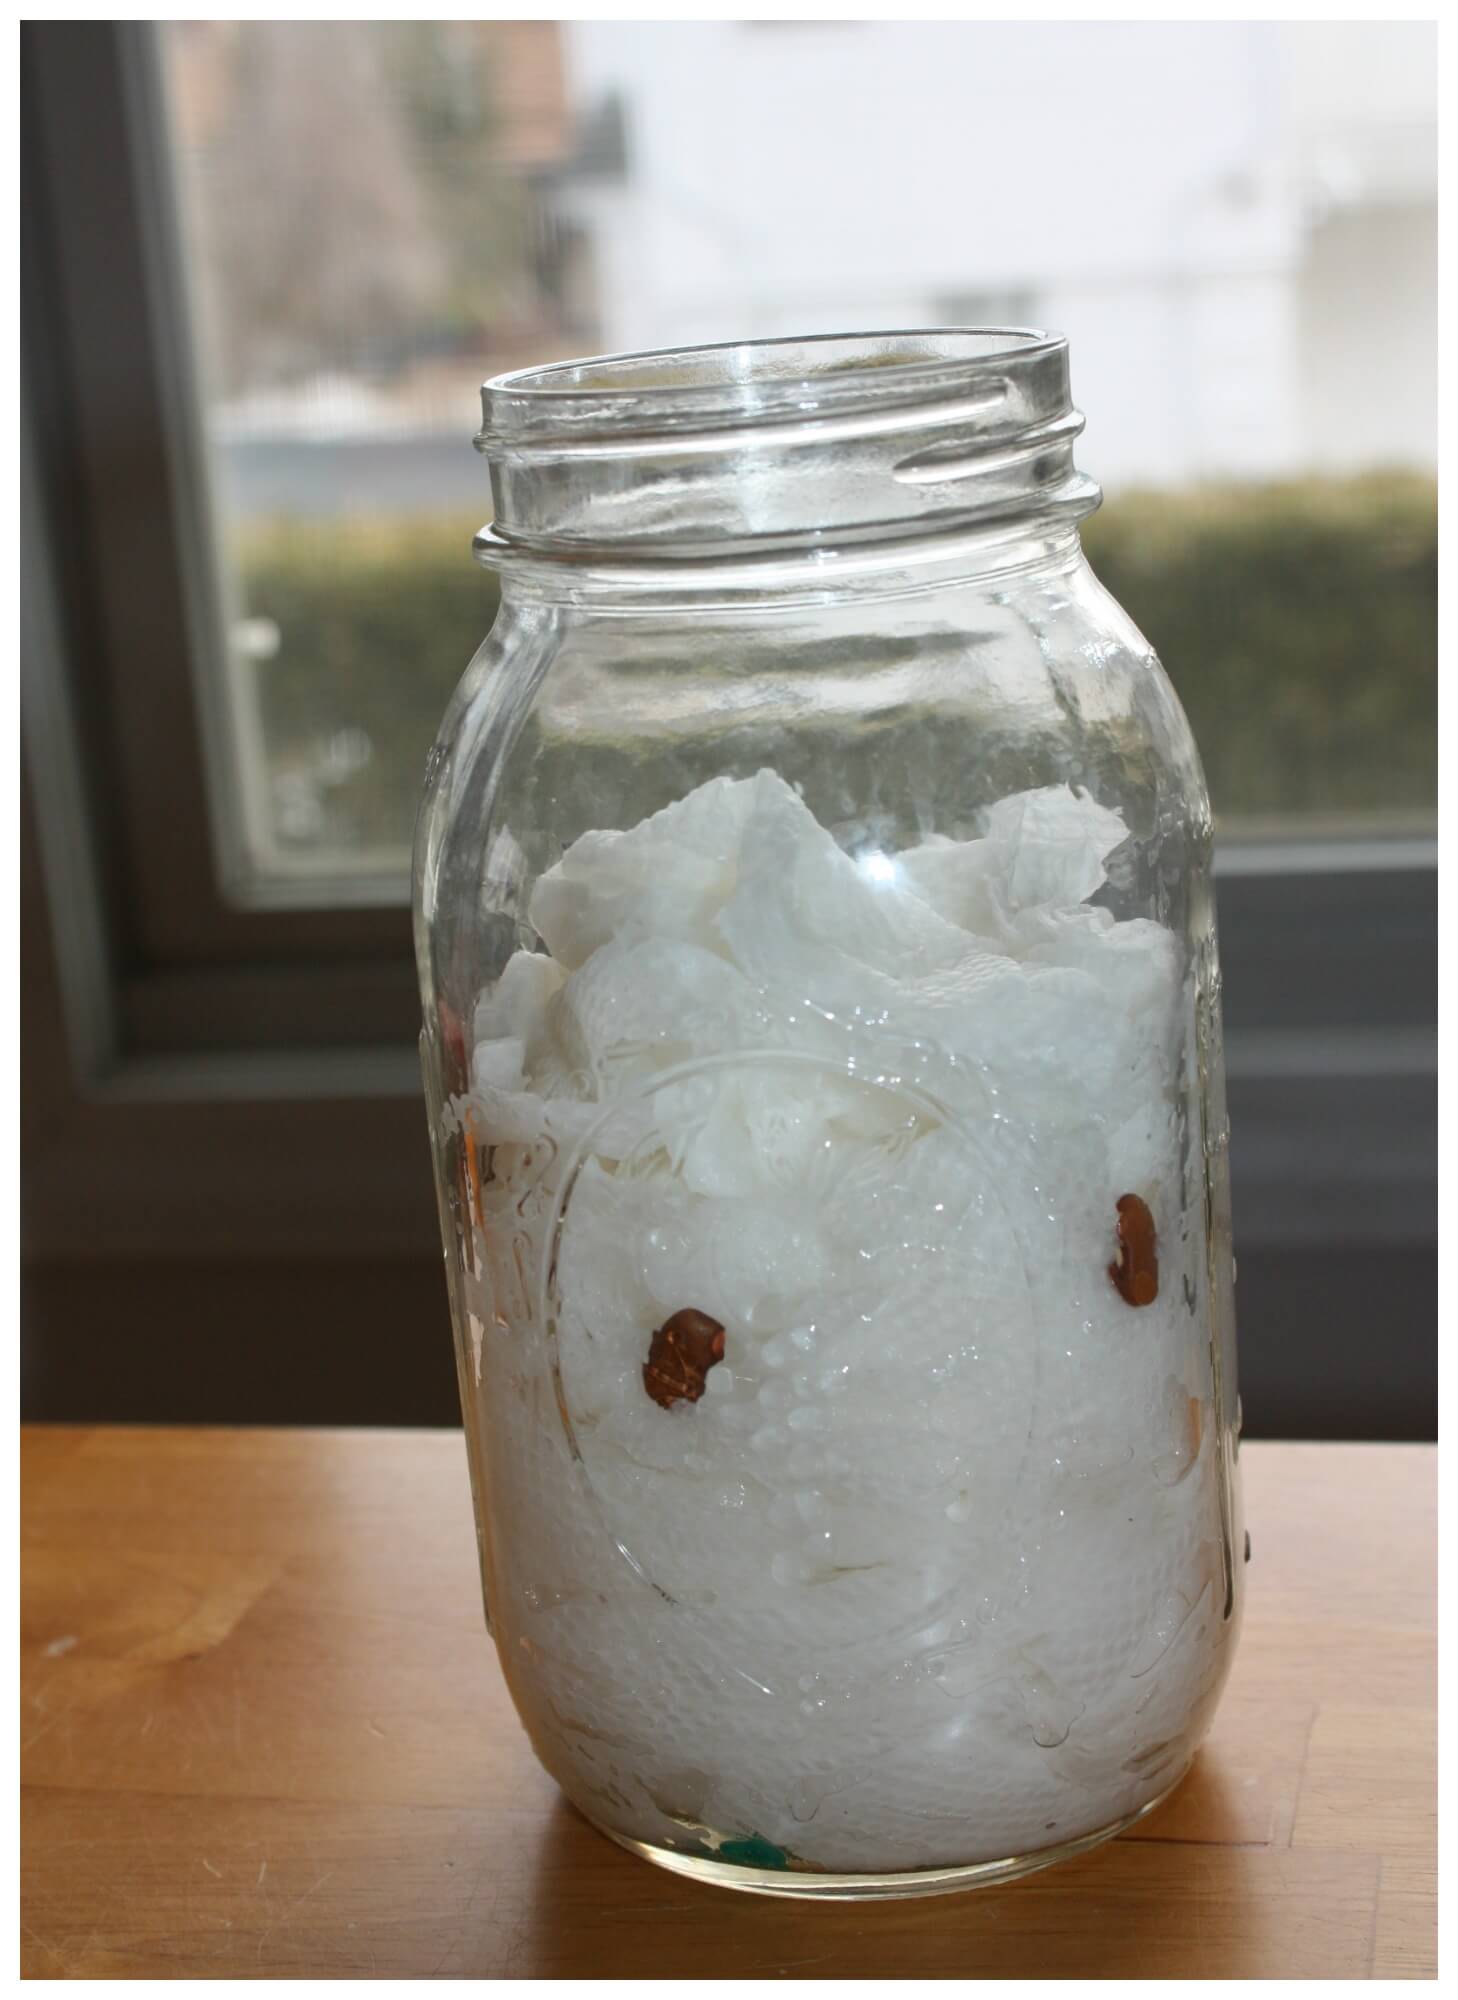
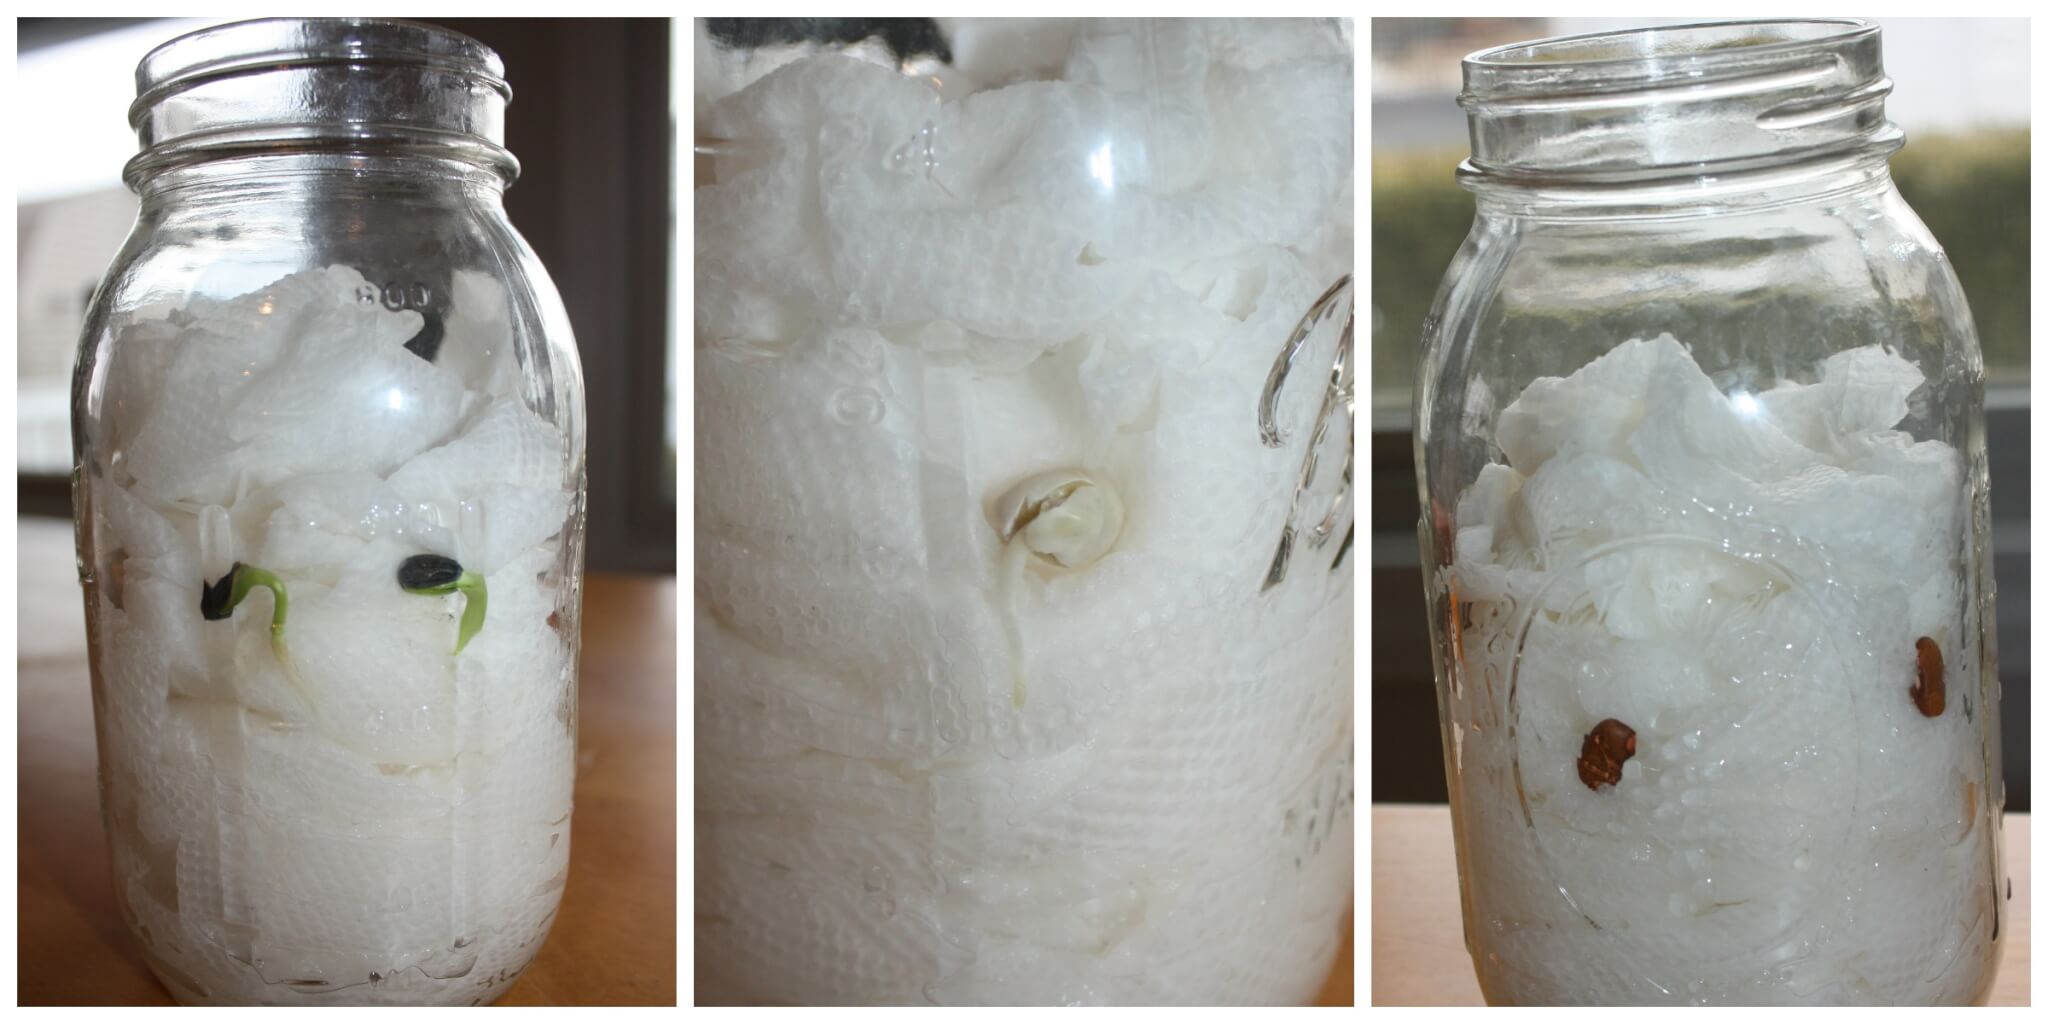
STEP 3: Carefully push seeds down into the paper towels around the edge of the jar so they can still be seen. Make sure they are firmly held in place.
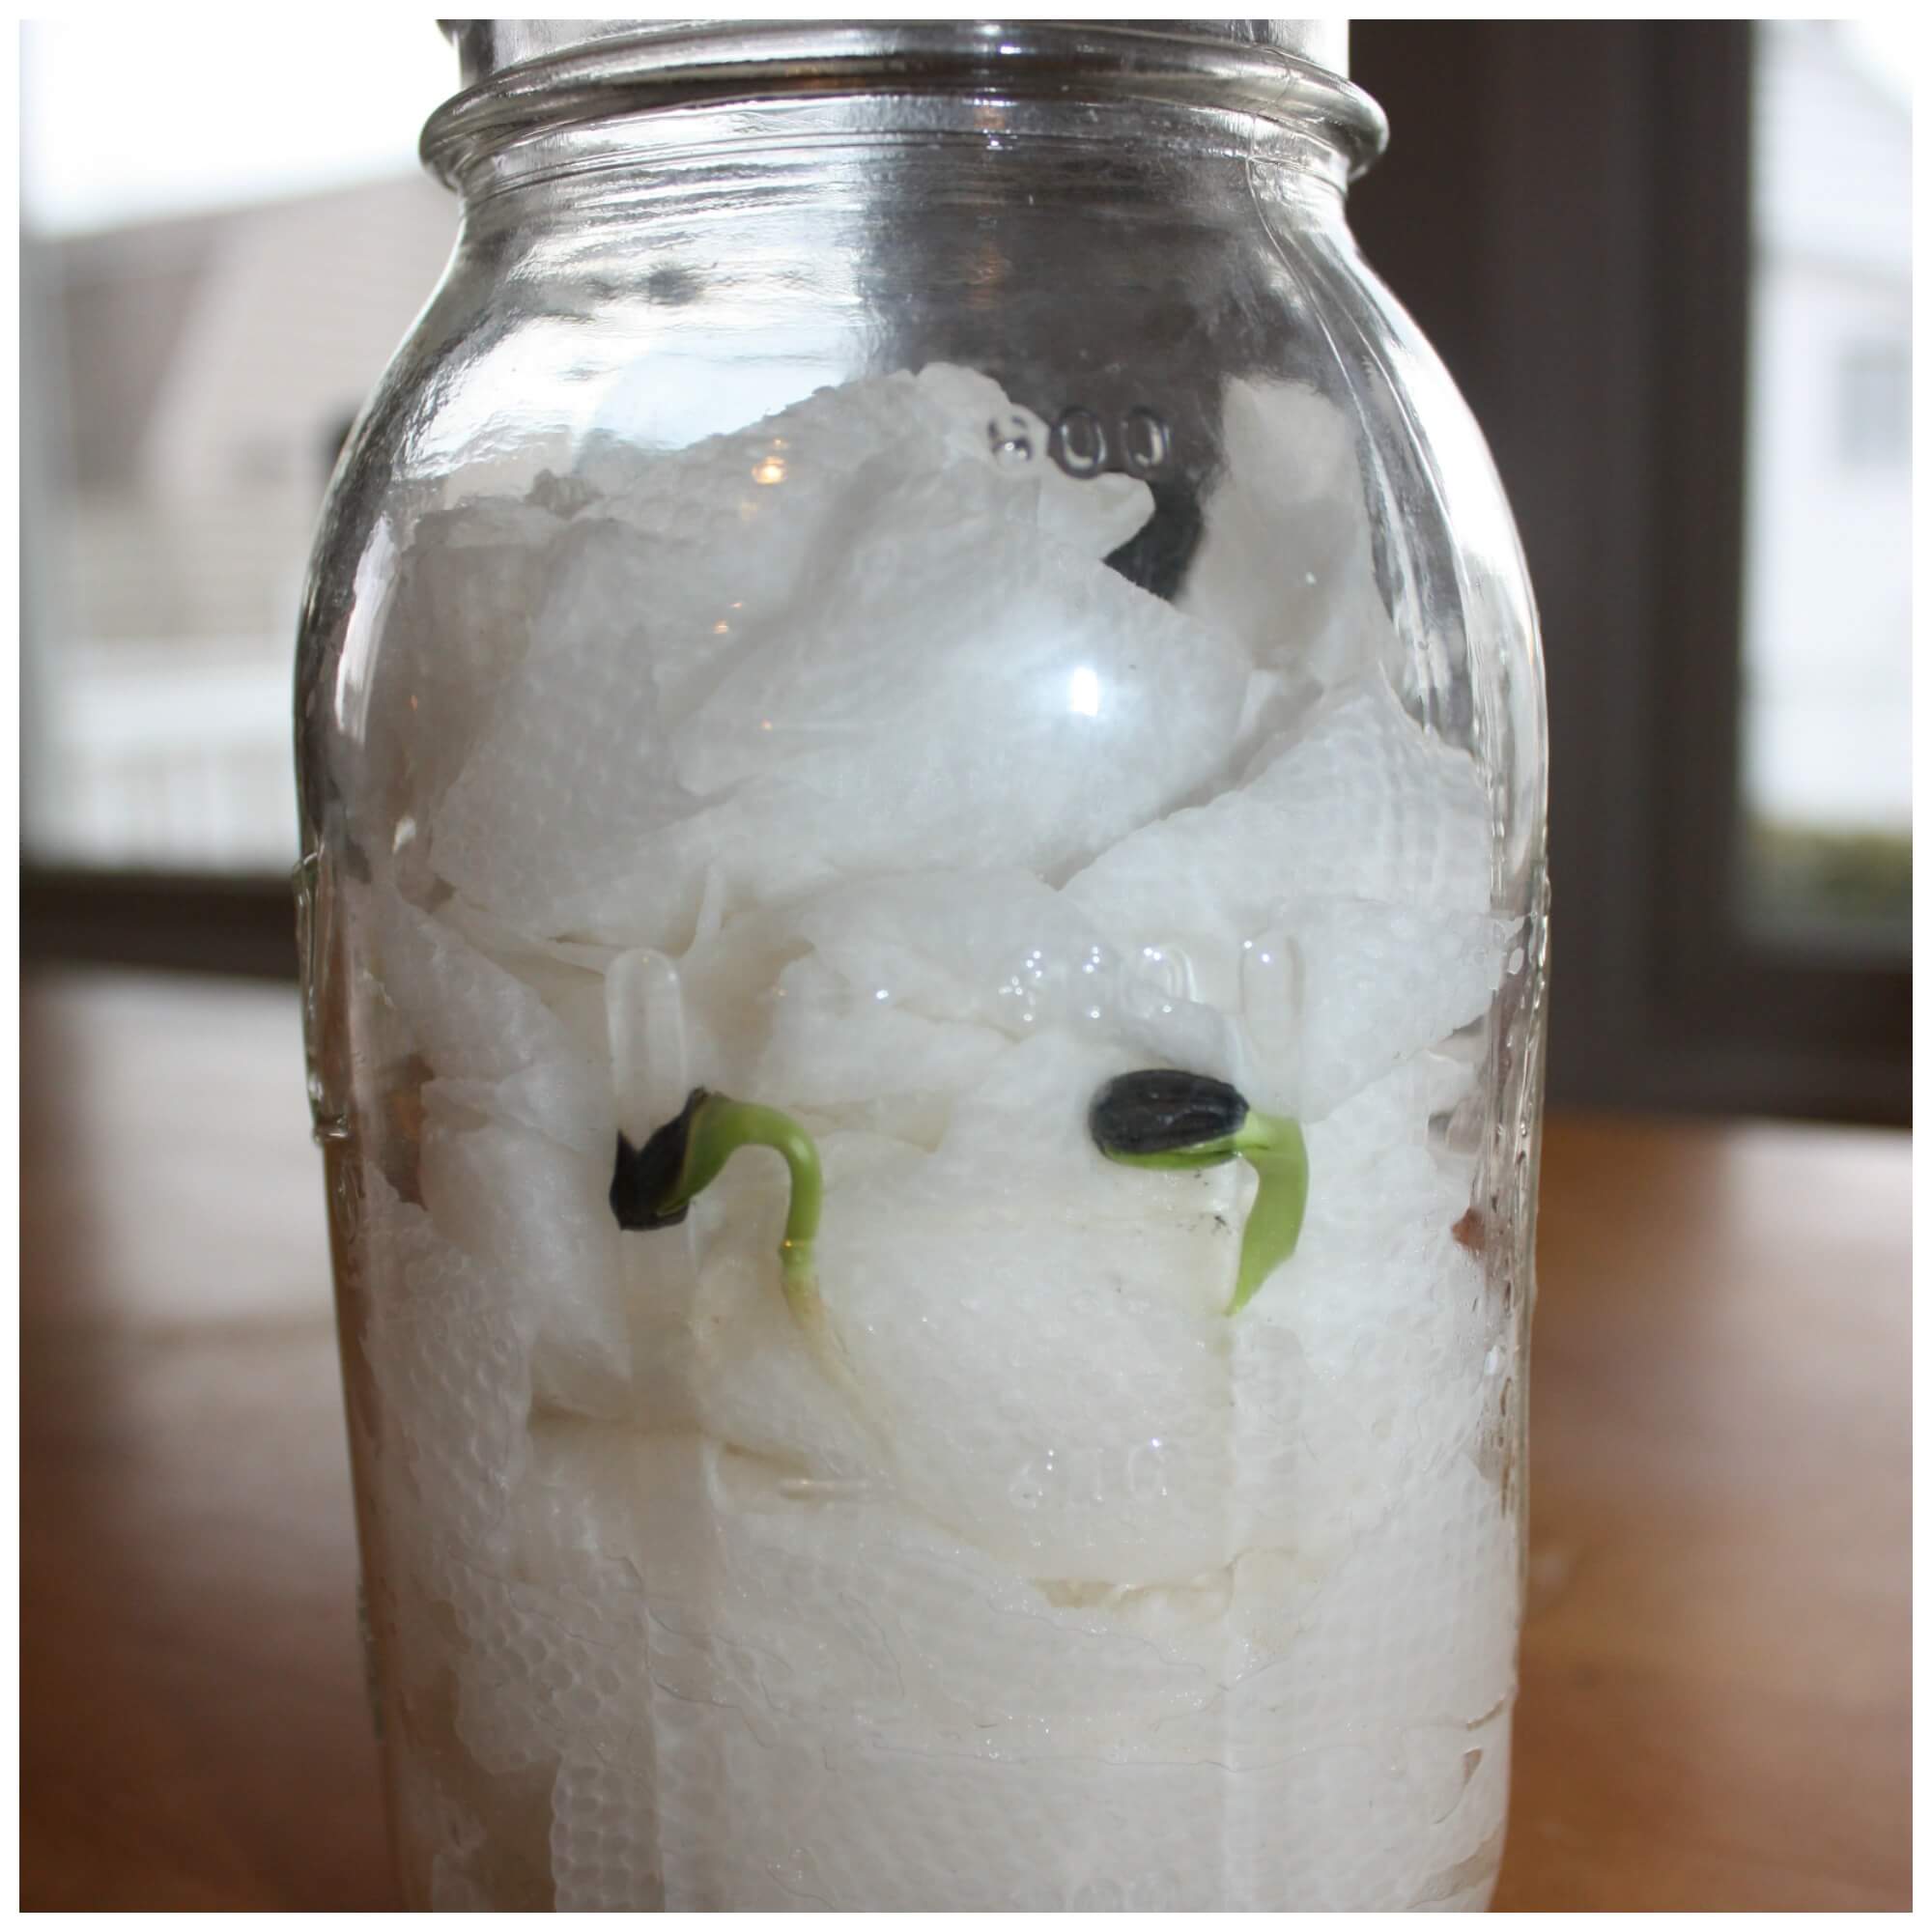
Our mason jar below includes sunflower, pea, and green bean seeds!
STEP 4: Put your jar in a safe place, and check in regularly to observe any changes.
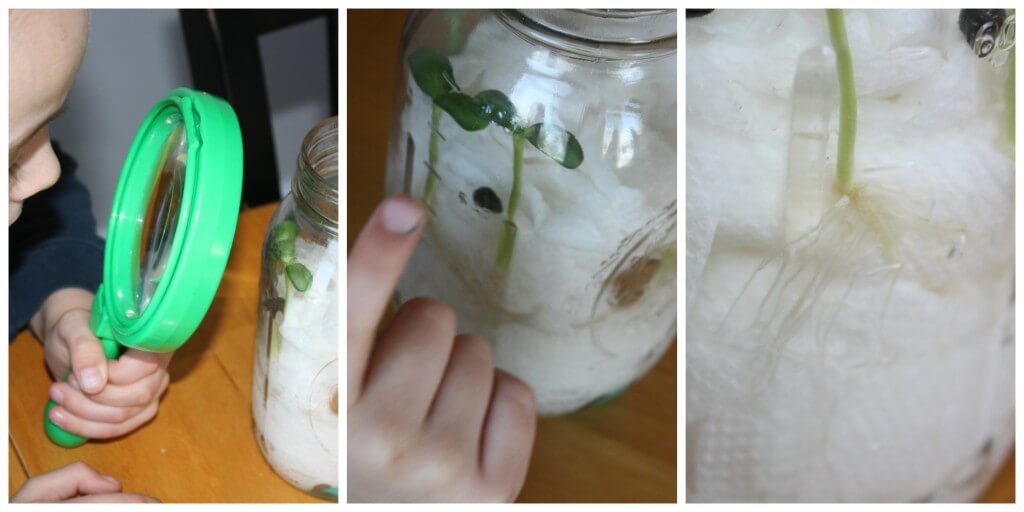
How To Observe Seed Growth
This activity makes a great plant science fair project for multiple ages. Get your magnifying glass out and check out all the angles of the seeds. Can you find the different stages of seed germination described earlier?
What do you see in your seed jar?
- You are looking for a root to pop out of the side.
- Next, you are looking for a root to push down into the soil.
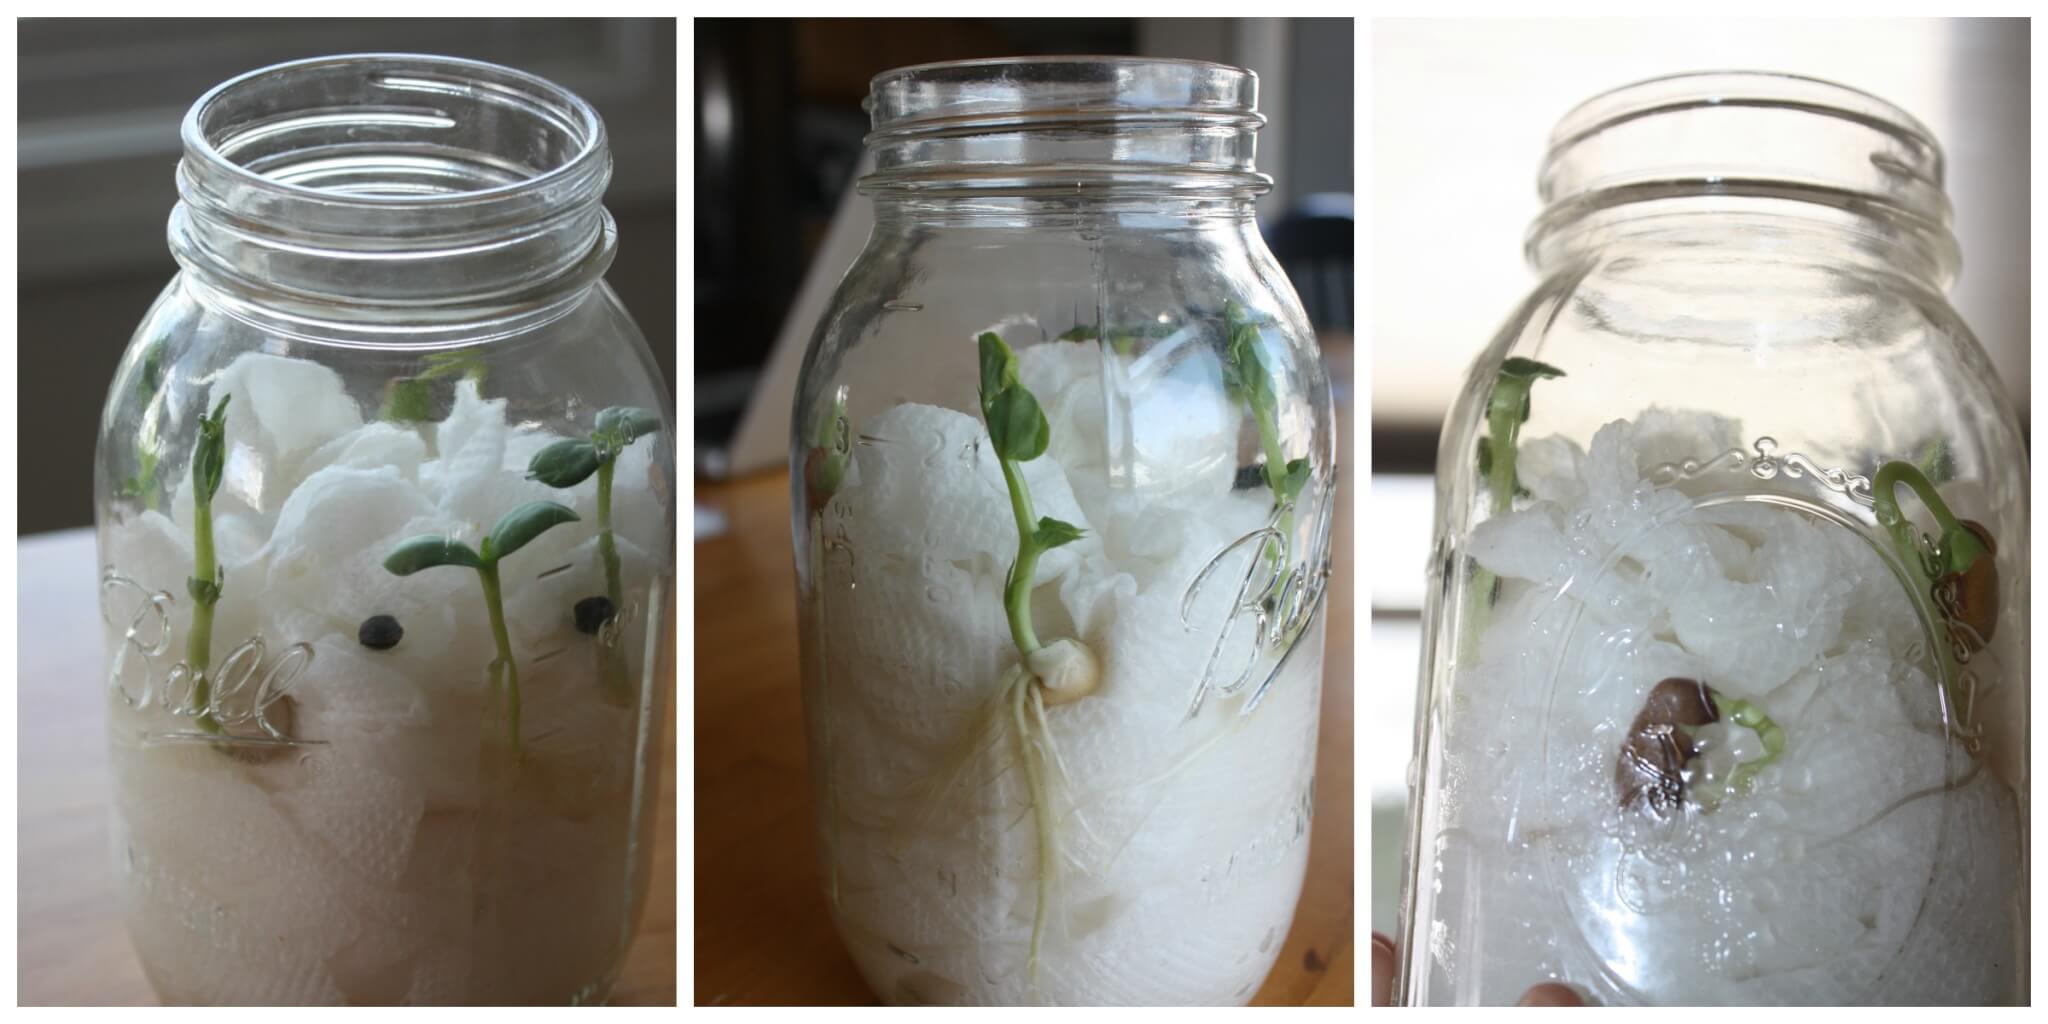
- Then, you are looking for root hairs.
- Next, look for the seed to push up while the root hairs push down.
- Lastly, you are looking for the shoots to come up!
The mason jar gives a stunning view of this seed experiment! My son loved being able to see the changes so easily.
Our Seed Experiment Results
We started this experiment and within a few days started to see some exciting things. It was also interesting to talk about what was happening with the different seeds and how they changed over the duration of the experiment.
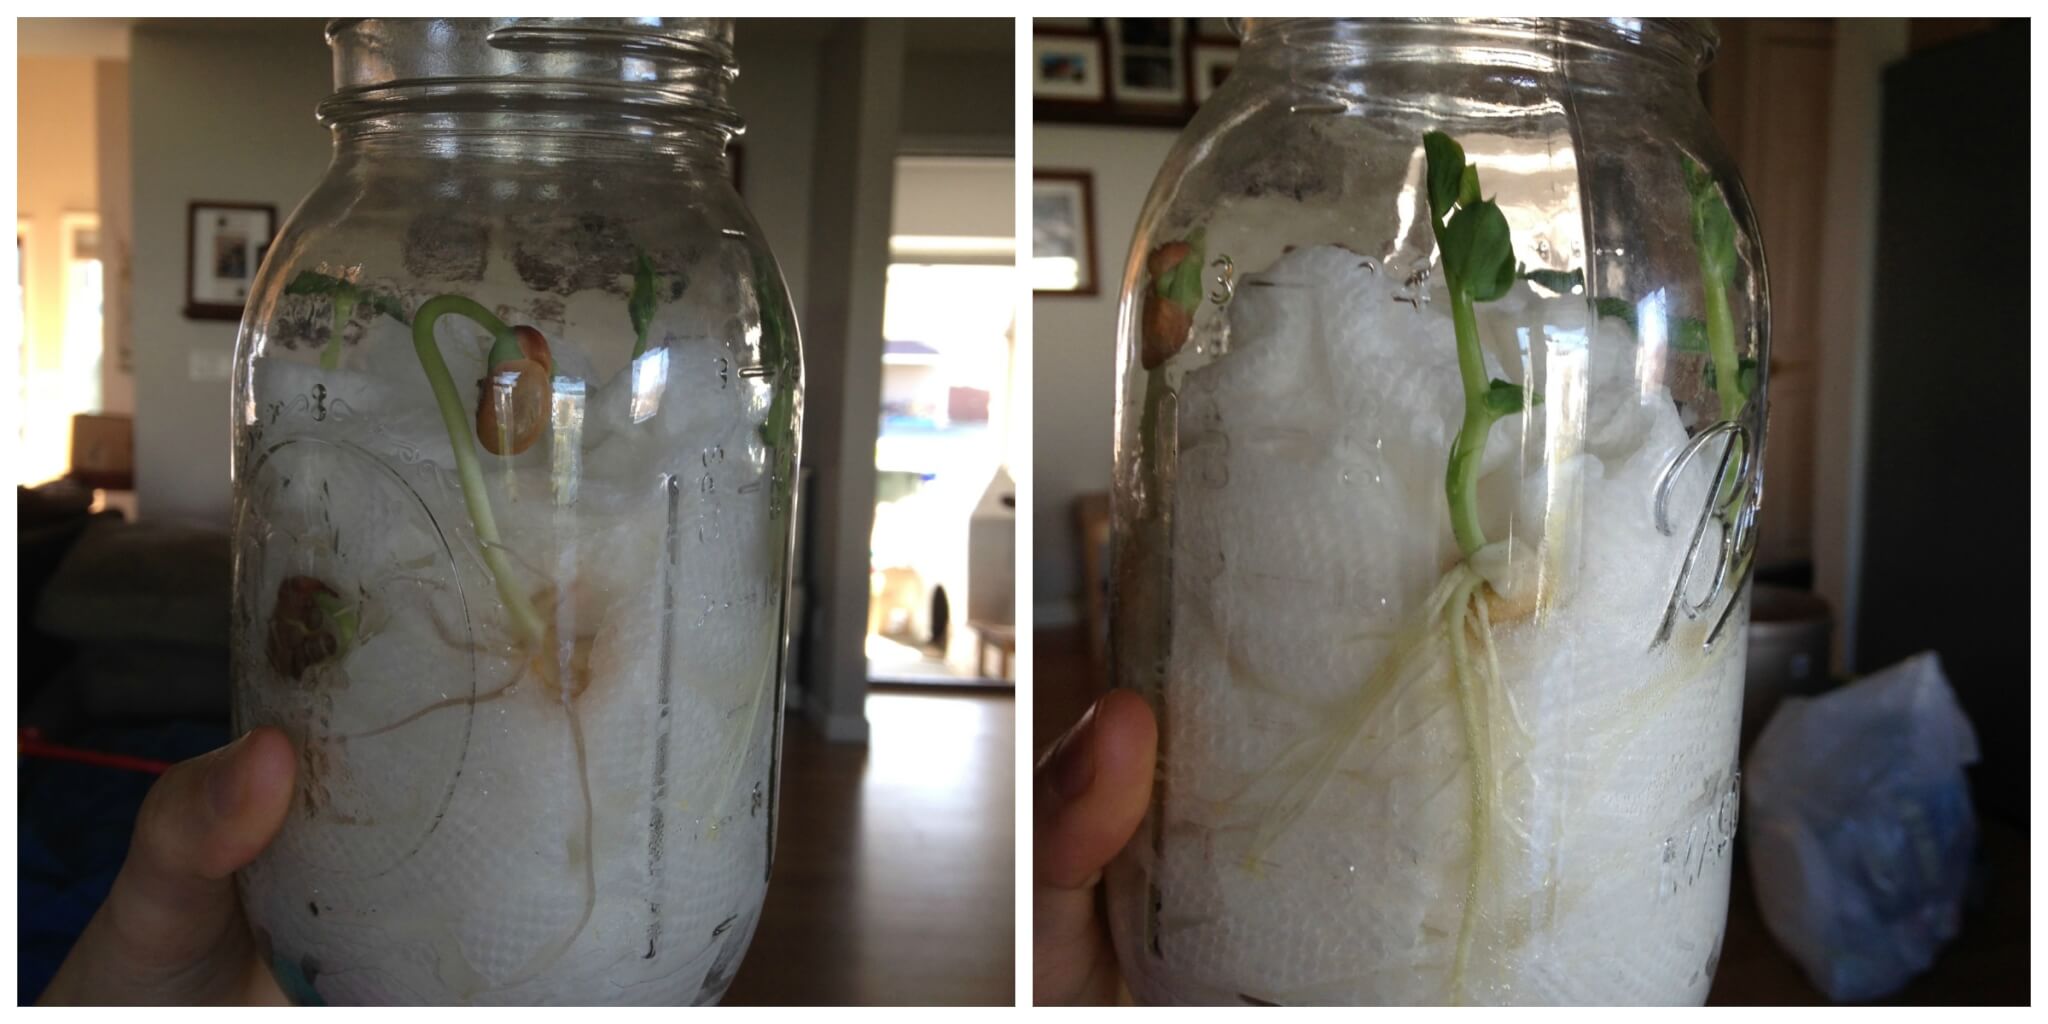
- Sunflower seeds were the fastest to pop a root but never made it out of the jar.
- Bean seeds took the longest to pop a root but finally did and made it out of the jar.
- Pea seeds grew rapidly once the root popped out and grew the tallest.
Simple beginnings with the sunflower seeds! Then the pea and lastly the bean! It took about three days to see some action with the seeds!
Amazing to see the pea take off in the seed jar once the root popped out! My son enjoyed telling me about the root hairs he could see every day! So fun to see it flourish and check out the results! It’s a perfect spring science activity at home or in the classroom.
We also enjoyed the book, How A Seed Grows by Helene Jordan which inspired another seed planting activity with eggshells!
More Fun Plant Activities For Kids
Looking for more plant lesson plans? Here are few suggestions for fun plant activities that would be perfect for preschoolers and elementary kids.
Learn about the apple life cycle with these fun printable activity sheets!
Use art and craft supplies you have on hand to create your own parts of a plant craft.
Learn the parts of a leaf with our printable coloring page.
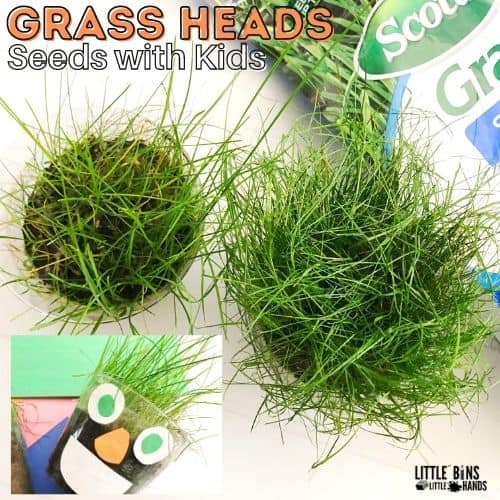
Use a few simple supplies you have on hand to grow these cute grass heads in a cup.
Grab some leaves and find out how plants breath with this simple plant experiment.
Learn about how water moves through the veins in a leaf.
Find out why leaves change color with our printable lapbook project.
Watching flowers grow is an amazing science lesson for kids of all ages. Find out what are easy flowers to grow!
Use this seed bomb recipe and make them as a gift or even for Earth Day.
Learn about osmosis when you try this fun potato osmosis experiment with the kids.
Explore the different plants that you find in our biomes of the world lapbook project.


This is what we should have done – instead we tried plastic bags to grow the seeds in, and they got foggy with condensation so it was hard to see the root! Aw, well. Lesson learned. Next time – grow them in a jar! lol!
We just started our beans in a jar last week. Looking forward to seeing what happens this week.
We’ve just done the same 🙂 Put the beans in the jar instead plastic bags 🙂 Mr Frog is so excited observing the bean growing!
Wonderful learning activity! Thanks for linking up at the Thoughtful Spot Weekly Blog Hop!
My girlie is very curious about planting and asks tons of questions about the seeds and what happens with them in the soil. This is a great way to show her clearly enough the whole process of the seed’s growing. Thank you for this idea!
What kind of pea seeds did you use?
Good question. I don’t remember the band or name but it was a common package from the store.
This looks like so much fun! Can’t wait to try with my 4 and 2 year old son and daughter. We’re always looking for affordable, educational and fun activities. This is perfect. Happy to have stumbled onto this site!
Do you cover the jar? Do they need to be near a sunny window? Are you supposed to water them? Thanks!
Wonderful! Thank you!
Hi! I did not cover the jar. They were on a table in front of window that did get sunlight at some point during the day. We did not water daily. I added a tiny bit here and there but not much at all. We actually went away for a week and came back to them being so tall which you can see in the picture above. Thats a week with no water what so ever!
What kind of beans did you use? Pinto? I’m wanting to start this activity here soon with my little in-home daycare. 🙂
We used green beans, sunflowers, and green peas!
Just double checking no soil, just paper towels. This is our spring break project. I can’t wait.
Right no soil!
hello! I’m going to try this with my kindergarten class. Did you use dried green beans infrom a bag (like at the supermarket)? Or fresh ones?
Where did you get your seeds? Did you buy them fresh and pick the seed out off the pods or take it out of the shell?
I’m interested in doing this but I don’t want to buy the wrong ones.
Simple seed packets from the grocery store!
that was so cool
What a great learning activity. I am featuring this with a link on my blog.
We are getting ready to start this project today with our preschool class. One thing i have not been able to find is, how much water/how wet do the paper towels need to be?’
super cool!!!
U just use dried peas you get in a box steep them over night then plant them absolutely excellent outcome 4 kids and grown ups alike lol
Interesting! Share a picture!
you teach me something thanks very much.
besides seed jar science is there anything else that kids can do?
What do you mean? Feel free to email me [email protected]
I cant wait to try this out with the 4 year old children at the our Early Learning Centres
I am grateful to have found this page. Thank you so much.
At any point do you add soil to the jar or transfer the plant out so it can grow bigger? If transferring, what’s the best way to move them out of the jar and into a pot? What stage of growth should they be at before doing so? Does this method work for any type of seeds? This is perfect for the plant project I want to start with my in-home daycare but I wanted to use seeds from foods they eat and can replant as a way of incorporating recycling into the other lessons learned but I’m new to all of this including being a first time mom/in-home daycare owner and have lots of questions lol! Thank you in advance for your time, patients, and wisdom! 🙂
You could potentially transfer it! We did not. You wouldn’t add soil to the jar though. Makes a great experiment to see if it takes outside or in a pot!
Since we are getting to spring, a seed germination jar is a perfect activity. Thanks